Work with ES|QL results in Discover
After a query runs, you can shape what the results table shows without rewriting the query: keep or exclude rows by value, reorder them, select the columns you see, and spot where your search terms matched. This page also explains how the time filter applies to the table and the chart, and what happens when you cancel a long query.
- Make sure Discover is in ES|QL mode. Classic mode doesn't support this functionality. To switch, refer to Switch to Discover's ES|QL mode.
- You need an ES|QL query that returns rows. If you're new to ES|QL in Discover, start with Get started with ES|QL in Discover.
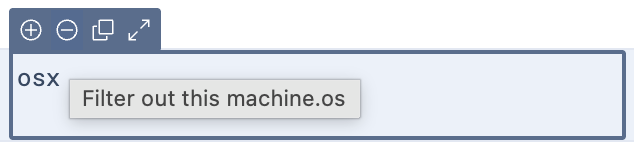
Hover over a value in the results table, then filter for it or filter it out.
-
Filter for keeps that value. For example,
WHERE `machine.os` == "osx". -
Filter out excludes that value. For example,
WHERE `machine.os` != "osx".
The tooltips of these buttons read Filter for this or Filter out this, followed by the field name.
Filtering for multi-value fields translates into WHERE MV_CONTAINS or WHERE NOT MV_CONTAINS clauses. For example, WHERE MV_CONTAINS(`tags.keyword`, ["error", "security"]::keyword). If Discover can't determine the field type, it uses MATCH clauses instead.
The query is the only place where the filter lives, so the filter shows up in the query text.
Result: When you select Filter for or Filter out, Discover adds or completes a WHERE clause for that value, and the table shows the matching rows.

From the menu of a column, select a sort option. The labels depend on the column type: numeric columns offer Sort Low-High and Sort High-Low, text columns offer Sort A-Z and Sort Z-A, and date columns offer Sort Old-New and Sort New-Old. Discover reorders the rows already in the table. The query stays the same, and Discover doesn't run it again. The Summary column doesn't offer sorting.
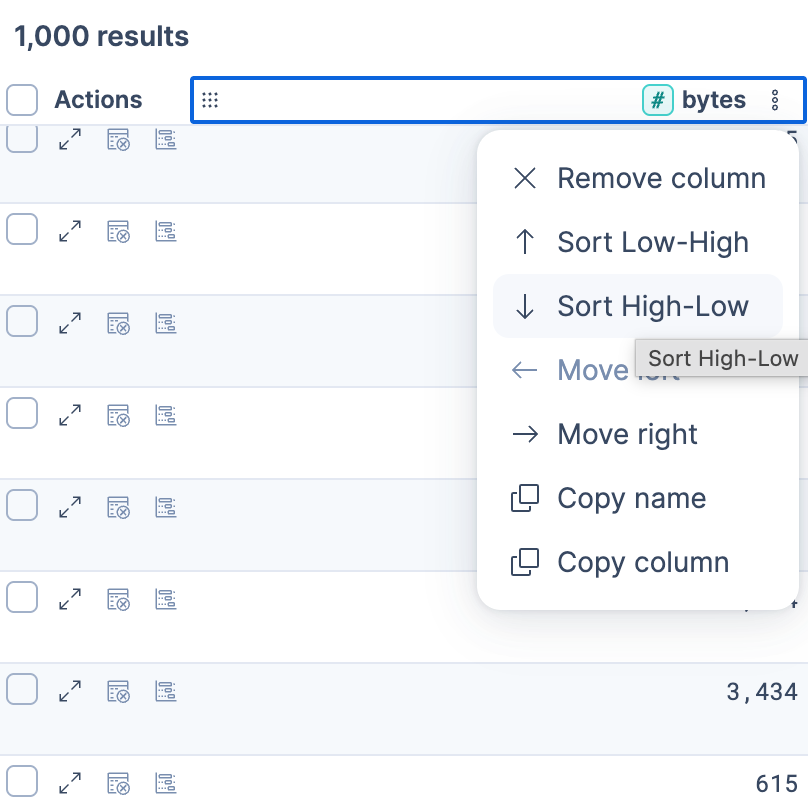
Result: The table shows those same rows in the new order, and the query has no SORT command.

A column sort reorders only the rows the query returned. For a FROM query with no LIMIT, that is at most 1,000 rows. To change which rows come back, add a SORT command. Elasticsearch orders the data, then keeps the first rows of that order. This query returns the 1,000 largest bytes values:
FROM kibana_sample_data_logs
| KEEP @timestamp, bytes, geo.dest
| SORT bytes DESC
If the query has no KEEP, STATS, or PROMQL command, the table shows a Summary column of each result's key-value pairs until you add fields. A query with one of these commands shows its result columns instead, up to the first 50 by default. The time field, which is the date field that the time filter uses, is the first column when the data has @timestamp, or when the query names that field.
When a query without KEEP, STATS, or PROMQL returns five or fewer columns, Discover shows each column individually instead of the Summary column.
doc_table:hideTimeColumn).
Add a field from the fields list in the sidebar to show it as its own column. The query stays the same.
KEEP, STATS, or PROMQL command, the time field stays the first column after you add other fields. CSV exports from Discover and from Discover session panels on dashboards also include the time field.
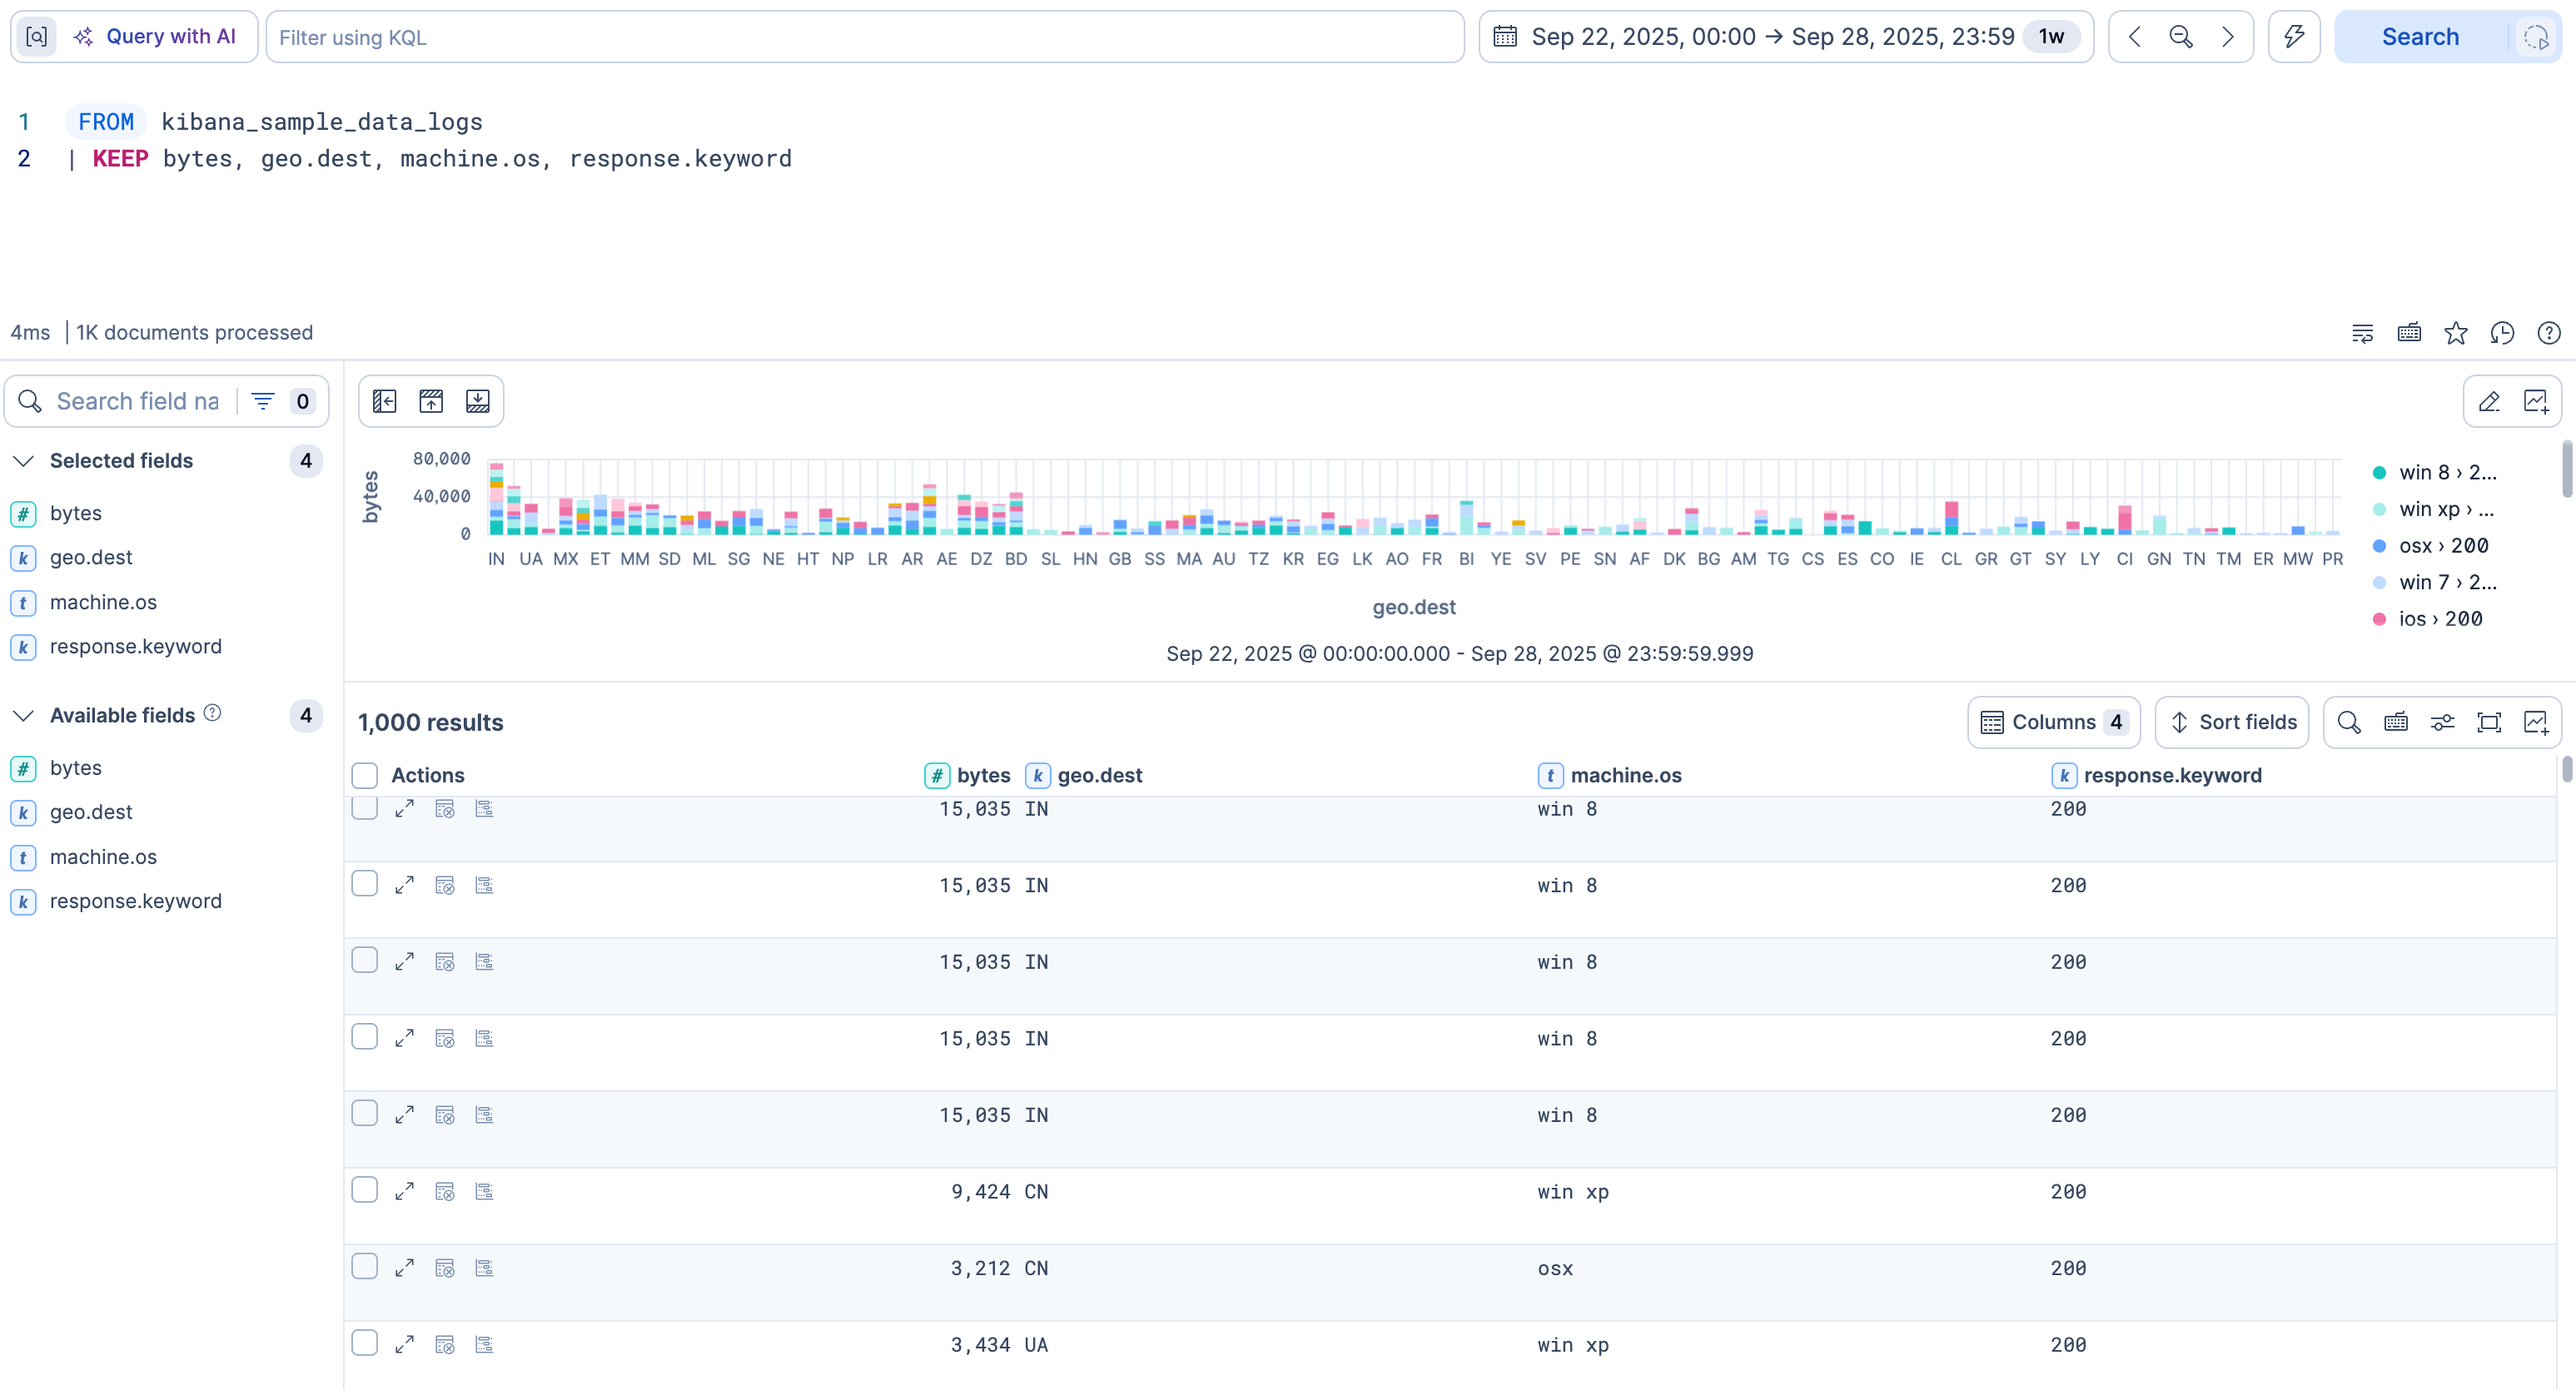
To control which fields the query returns, use the KEEP command:
FROM kibana_sample_data_logs
| KEEP bytes, geo.dest, machine.os, response.keyword
To display all fields as separate columns, use KEEP *:
FROM kibana_sample_data_logs
| KEEP *
To show a value that your data doesn't store, such as a size in kilobytes, calculate it in the query with the EVAL command. The calculated value becomes a column in the table. It exists only in that query, so your data and any data view stay as they are. If you're used to adding a runtime field in classic mode, EVAL serves the same purpose.
FROM kibana_sample_data_logs
| EVAL kb = bytes / 1024.0
| KEEP @timestamp, bytes, kb
If your query uses KEEP, list the new column in it, or KEEP removes the column.
To see which words matched a full-text search, add a command or function that highlights matches to your query. Discover then shows each match highlighted in the results table. You don't need to change any setting.
Elasticsearch marks a match by wrapping it in tags. For example, it returns The <em>Hobbit</em>, where <em> and </em> surround the matched word. Discover reads those tags and shows the word highlighted, so the tags don't appear in the table.
Discover highlights matches for:
The HIGHLIGHTcommand. It writes the matches to new columns namedhighlight_plus the field name, and Discover highlights those columns. If you set your ownprefix,pre_tags, orpost_tags, the matches in the resulting columns stay highlighted.For example, this query returns a
highlight_titlecolumn in which Hobbit is highlighted:ROW title = "The Hobbit" | HIGHLIGHT "hobbit" ON title | KEEP title, highlight_titleThe TOP_SNIPPETSfunction with itshighlightoption set totrue. Discover highlights the matches in the column that holds the snippets, including when you set your ownpre_tagandpost_tag.For example, this query returns a
snippetscolumn in which rabbit and hole are highlighted:ROW chunks = ["The white rabbit disappeared down a hole."] | EVAL snippets = TOP_SNIPPETS(chunks, "rabbit hole", { "num_words": 0, "highlight": true }) | KEEP snippets
On Elastic Cloud Hosted, Elastic Cloud Enterprise, Elastic Cloud on Kubernetes, and self-managed deployments, approximation requires an Enterprise subscription. Without one, Fast mode is unavailable.
When Elasticsearch applies approximation to a query, for example because Fast mode is on or the query explicitly sets approximation = true, a
badge shows next to the chart actions and in the table toolbar. Hover over the badge to see why the results are approximate. For what the badge and the extra columns mean, refer to Interpret approximate results.
If you omit LIMIT, the table shows up to 1,000 rows. When a query uses TS with STATS, or PROMQL, the default is 10,000 rows. To show more rows, add a LIMIT. By default, Elasticsearch returns at most 10,000 rows for a query, and a higher maximum applies to queries that use TS with STATS, or PROMQL. Aggregations still run on the full data set. Elasticsearch cluster settings define these limits. Refer to Result set size limit.
- Column limit: For queries that use
KEEP,STATS, orPROMQL, Discover shows the first 50 columns by default when the query returns more. - Empty columns: Discover doesn't show a column that has no value in any returned row.
- CSV export: A CSV report of an ES|QL query stops at a row limit that depends on your deployment. Queries and aggregations still run on the full data set. To find the limit, refer to Export results and sessions from Discover > Export Discover session results as CSV.
When the data has an @timestamp field, the time filter applies to the table and the chart.
If the time field has another name, reference it in the query with the ?_tstart and ?_tend parameters. These parameters hold the start and end of the time filter. For the editor behavior, refer to Custom time parameters.
For example, the eCommerce sample data set has no @timestamp field. It has an order_date field. With this query, the time filter doesn't apply, and Discover shows no chart:
FROM kibana_sample_data_ecommerce
Add the parameters on order_date. The time filter then applies, and Discover shows the chart.
FROM kibana_sample_data_ecommerce
| WHERE order_date >= ?_tstart AND order_date <= ?_tend
| LIMIT 100
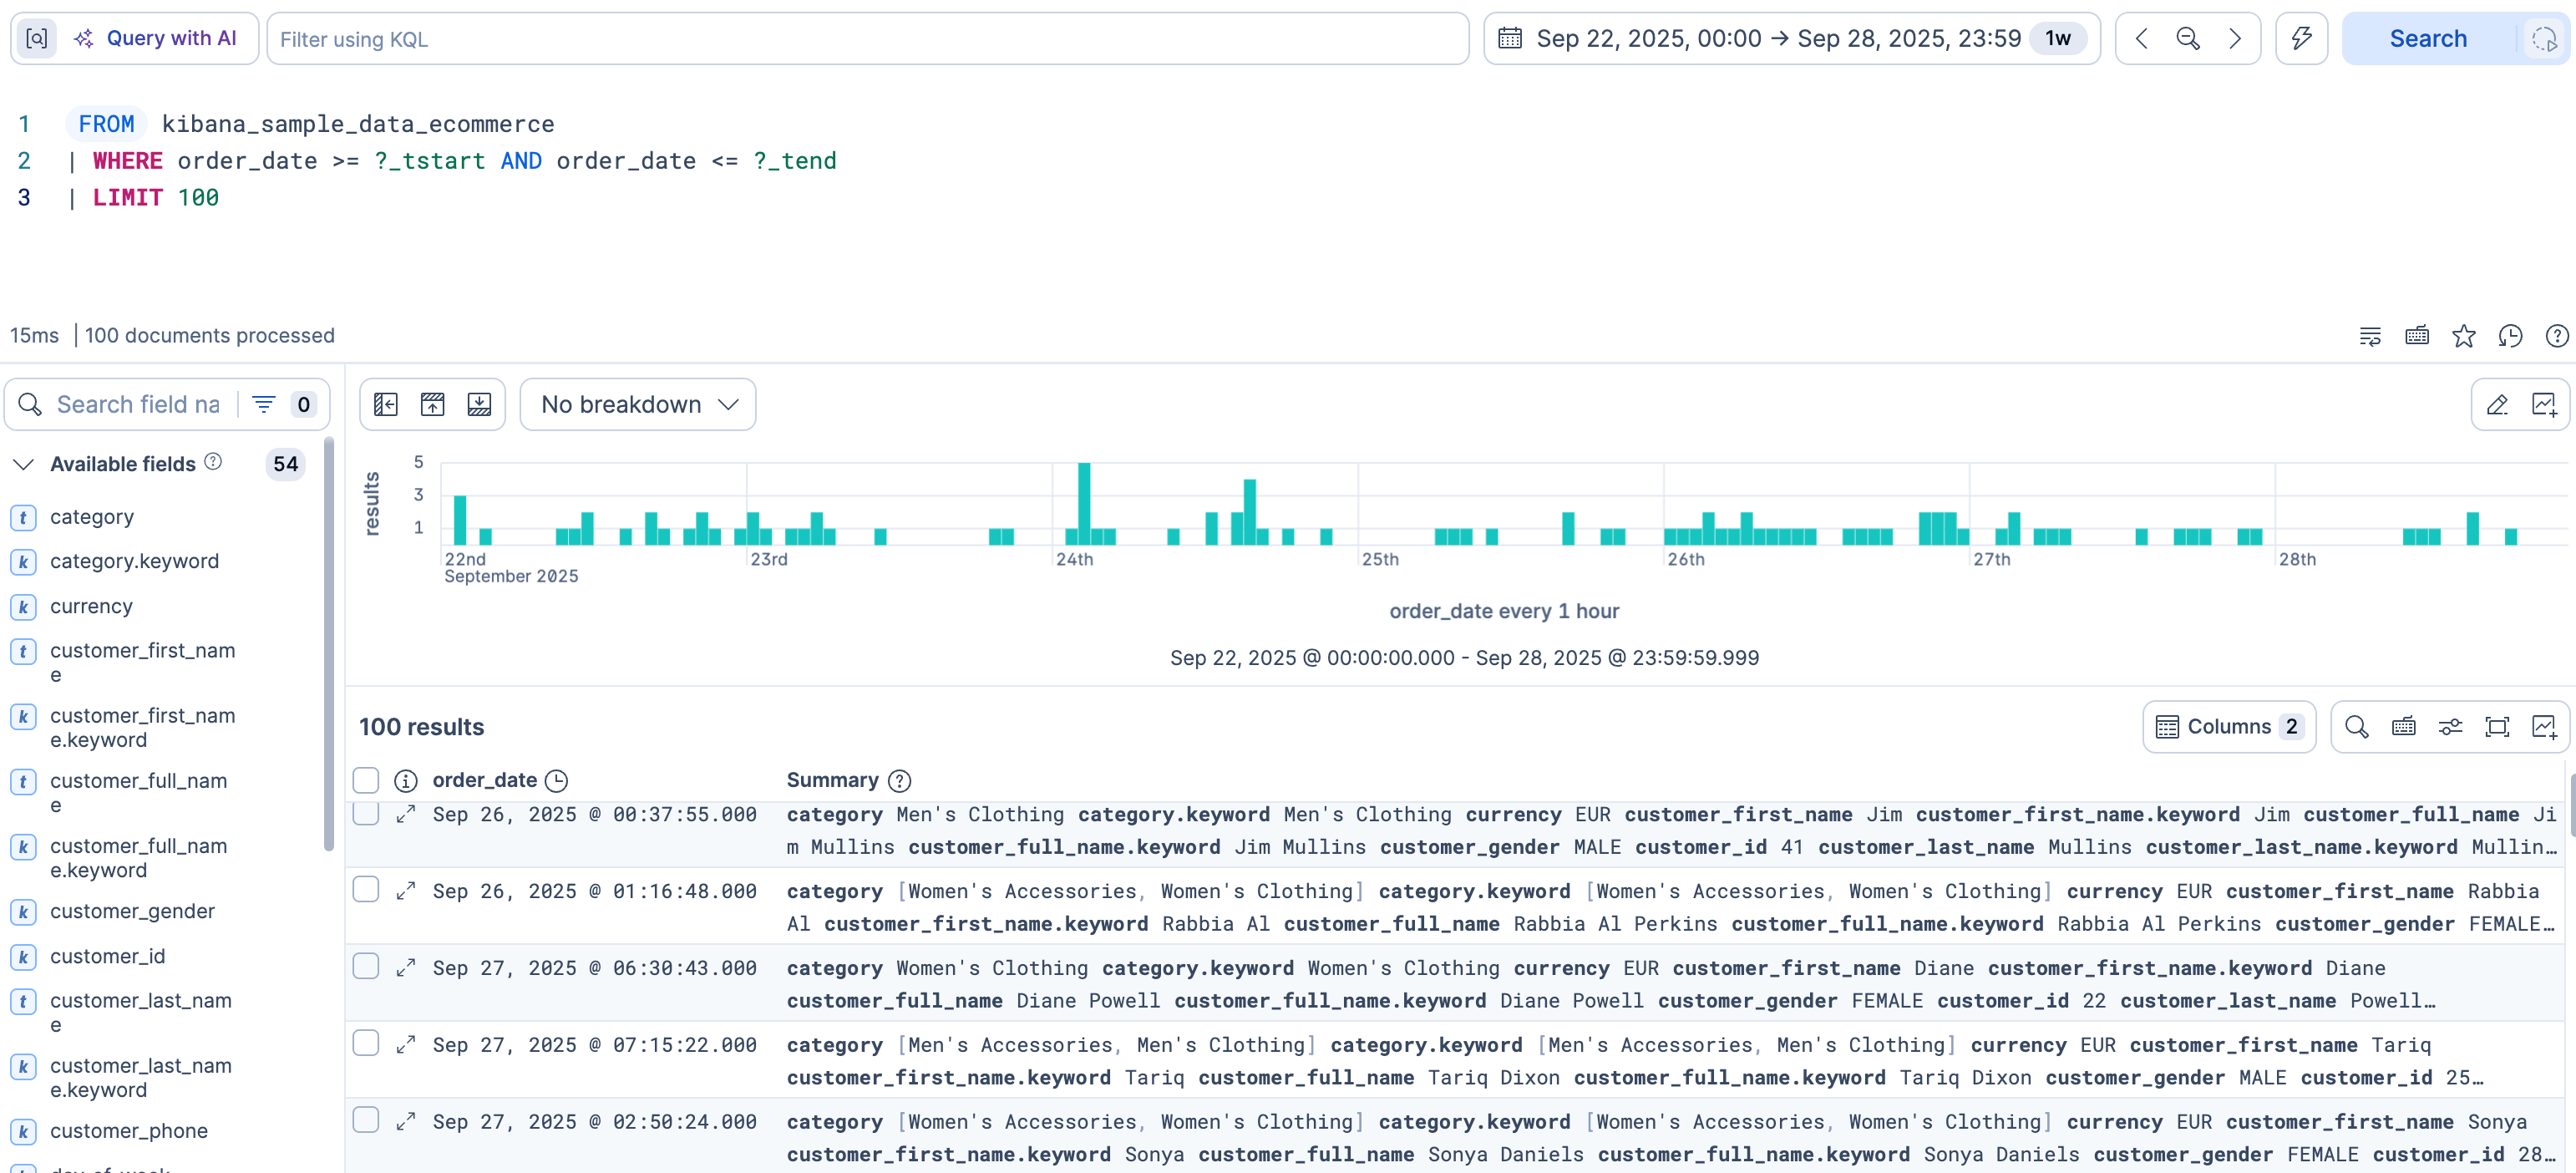
Result: The time filter sets the time range for that table and chart.
To keep the chart or the table, use one of these options:
- Save the Discover session. Save and manage Discover sessions explains the options.
-
Save the table to a dashboard. Customize the table explains how to configure it before you save it. - Save the chart to a dashboard. Change the chart type and display options explains how to configure it before you save it.
When you cancel a running query in Discover, what you see afterward depends on your version.
Select the Cancel button that appears while the query runs. Discover stops the search and displays the partial results collected up to that point.
Select the Cancel button that appears while the query runs. Discover stops the search and shows an empty results table.
For long-running queries, you can also send the query to the background instead of canceling it, allowing it to complete while you continue working.
Partial results appear when an ES|QL query times out or when you cancel it.
- The query times out. The timeout depends on your deployment and version:
-
In serverless projects, the timeout is fixed at 20 minutes. -
The search:timeoutadvanced setting defines the timeout. The default is 20 minutes (1200000 ms). -
The search:timeoutadvanced setting defines the timeout. The default is 10 minutes (600000 ms).
-
-
You cancel the query.
- To get an AI-written analysis of your results, refer to Analyze your data with AI.
- To look inside groups of
STATSresults, refer to Inspect grouped STATS results in Discover. - To keep your work, refer to Save and manage Discover sessions.